Language
How to adjust the upsetting force of semi-automatic copper rod butt welding machine
Wuxi Xinxing Welding Equipment Factory mainly produces: spot welding machines, butt welding machines, flash butt welding machines, medium frequency spot welding machines, energy storage spot welding machines, nut spot welding machines, polymer diffusion welding machines and other resistance welding equipment! QQ online consultationSitemapContact us

Xinxing. Intelligent resistance welding equipment and solution service provider 33 years of deep experience in the industry help companies solve difficult welding problems and improve welding efficiency!

 National service hotline:400-001-050213395100070
How to adjust the upsetting force of semi-automatic copper rod butt welding machine
Release time:2022.02.28
Summary of information:
Semi-automatic copper rod butt welding machine. Many people call it CNC copper wire butt welding machine, copper rod butt welding machine, wire butt welding machine, CNC manual butt welding machine, and mobile butt welding machine based on some of its characteristics. Its upsetting force adjustment is very simple. You can understand it in a few points. Let’s take a look with me.
Semi-automatic copper rod butt welding machine Many people call it CNC copper wire butt welding machine based on some of its characteristics.Copper rod butt welding machine, wire butt welding machine, CNC manual butt welding machine, mobile butt welding machine, its upsetting force adjustment is very simple, you can understand it in just a few points, come and see with me
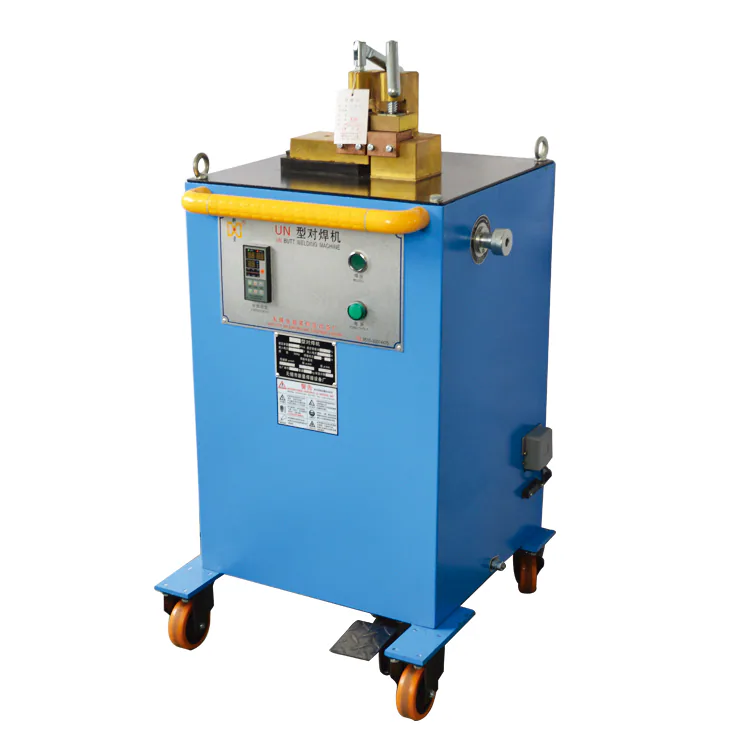
First we need to know what upsetting force is? It is the lateral horizontal pushing force exerted by the spring or cylinder on the workpiece on the movable fixture during the butt welding process. It, the welding current and the welding time are the three factors that affect the quality of the butt joint in the semi-automatic copper rod butt welding machine.
It is adjusted by a grid nut. The adjustment method is:
1. When butting small-diameter rod metal, rotate the nut clockwise to reduce the upsetting force
2. When joining large-diameter rod metal, rotate the nut counterclockwise to increase the upsetting force.
Xinxing Welding Equipment Factory, integrating R&D, production and sales for 29 yearsResistance welding machineManufacturer, products include:
1. Butt welding machines, micro butt welding machines, medium power butt welding machines, high power butt welding machines, ranging from manual to automatic.
2. There is a spot welding machine, semi-automatic foot-operated spot welding machine, pneumatic spot welding machine, capacitor energy storage spot welding machine, medium frequency inverter spot welding machine, row welding machine, fully automatic welding production line, etc. that is suitable for you.
3. The projection welding machine can be quickly modified from the spot welding machine according to the workpiece material style.
4. Seam welding machine, power frequency AC seam welding machine, medium frequency DC seam welding machine, customized for you according to the workpiece.
5. Resistance brazing machine, customized according to the size of copper plate and copper bar.
If you are also interested in our welding equipment, please contact us: 400-001-0502.
1. Butt welding machines, micro butt welding machines, medium power butt welding machines, high power butt welding machines, ranging from manual to automatic.
2. There is a spot welding machine, semi-automatic foot-operated spot welding machine, pneumatic spot welding machine, capacitor energy storage spot welding machine, medium frequency inverter spot welding machine, row welding machine, fully automatic welding production line, etc. that is suitable for you.
3. The projection welding machine can be quickly modified from the spot welding machine according to the workpiece material style.
4. Seam welding machine, power frequency AC seam welding machine, medium frequency DC seam welding machine, customized for you according to the workpiece.
5. Resistance brazing machine, customized according to the size of copper plate and copper bar.
If you are also interested in our welding equipment, please contact us: 400-001-0502.
Hot product recommendations
-
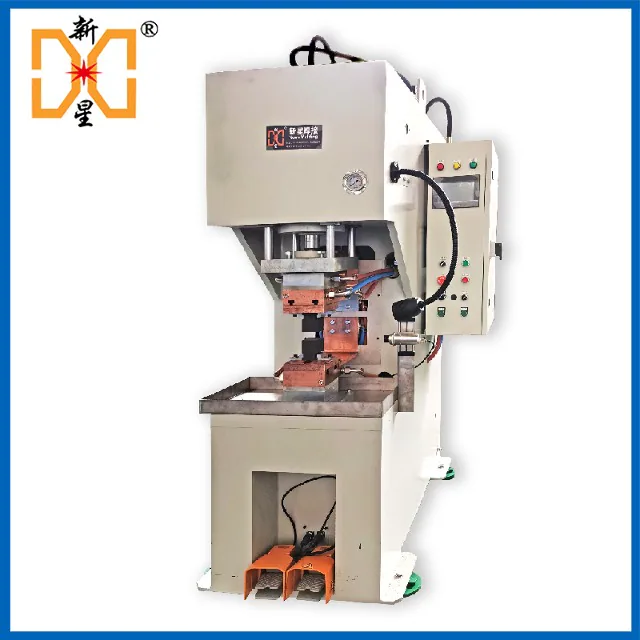
300KVA copper bar soft connection diffusion welding machine
Power: 300KVA Model: DBTH-300 Overlap: Copper skin, copper strip, copper foil soft connection, stainless steel, etc., and can also weld dissimilar materials. The hydraulic high-power medium-voltage medium-frequency copper bar soft connection diffusion welding machine mainly welds the same multi-layer copper strip, copper foil and copper skin into soft and hard copper bar connectors. It can also weld stainless steel strips, titanium zirconium and tantalum strips and multi-layer dissimilar materials. Mainly used for conductive connections in new energy vehicles, electric power stations, electrical switches, smelting power supplies, welding machines and other industries.
-
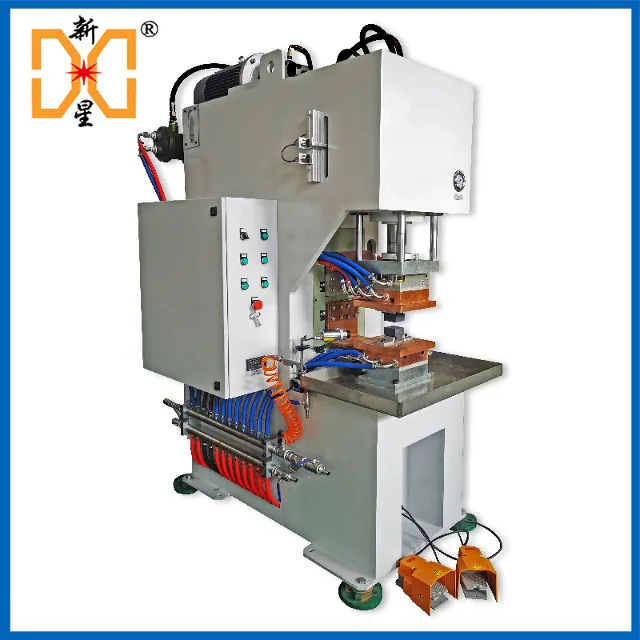
150KVA copper strip soft connection diffusion welding machine
Power: 150KVA Model: DBTH-150 Overlap: soft connection of copper skin and copper strip, stainless steel, etc., and can also weld dissimilar materials. The variable frequency polymer diffusion welding machine is a welding method that brings the surfaces of workpieces into contact with each other under a certain temperature and pressure, causing a fine liquid phase to be produced on the surface of the workpiece and gradually diffusing each other to achieve bonding. It is mainly used for soft connections of new energy vehicle batteries, soft copper bar connections of power supplies, secondary output connections of large power supplies in petrochemical industry, smelting, welding machine connection copper strip joints, etc.
-
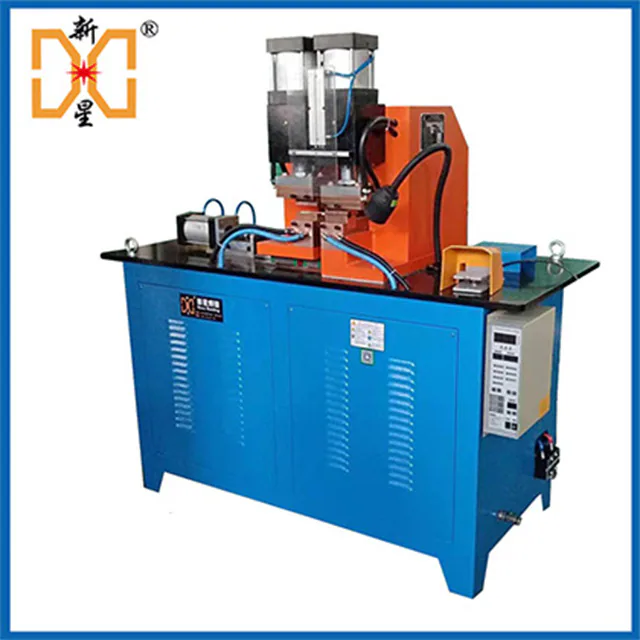
SUN pneumatic automatic flash butt welding machine
1. Originated in 1993 2. Xinxing’s 26-year history 3. Always adhere to all-copper welding machines 4. 10-year long design life 5. 20-year service life record 6. Serve 4000+ customers 7. CQC certified products

-
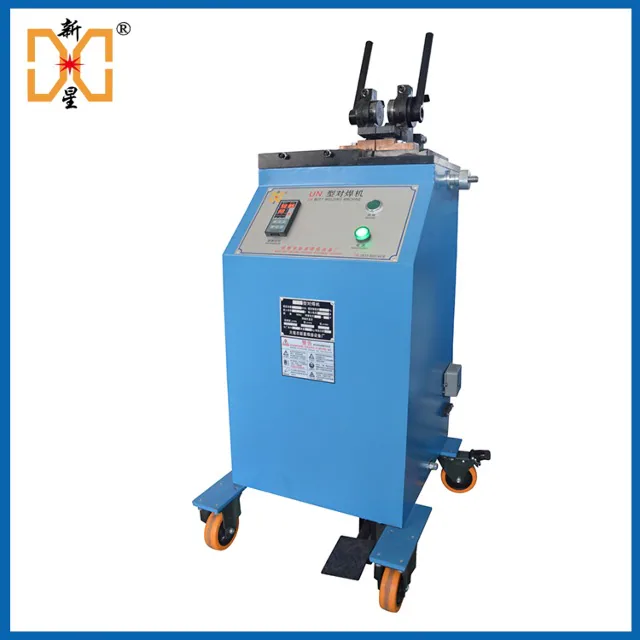
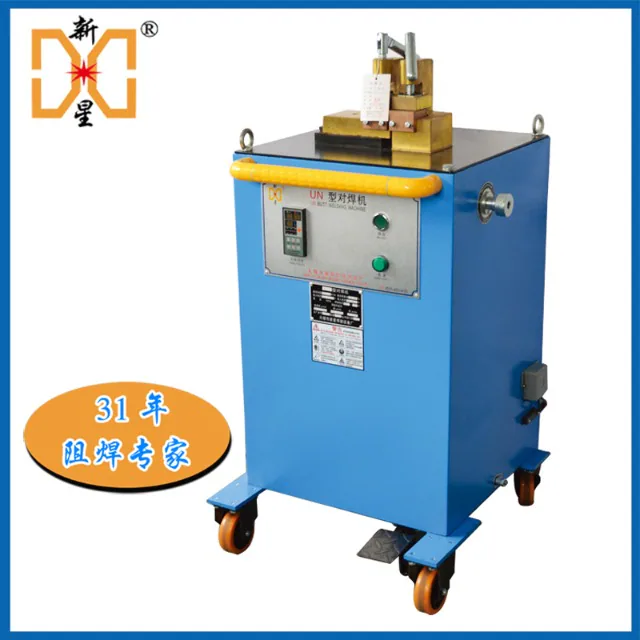
UN6 flash pneumatic resistance butt welding machine
The UN6 flash pneumatic resistance butt welding machine is widely used in the butt jointing of various metal round materials, flat materials, and pipes. With different special molds, it can also weld various special-shaped materials and copper and aluminum pipe joints. The UN6 flash pneumatic butt welding machine adopts pneumatic clamping and pneumatic transverse upsetting. It is also equipped with a special butt welding controller, which can accurately adjust the welding current and welding time. The welding output can be configured as required and adopts two control methods, primary voltage feedback and secondary current feedback, to ensure consistent welding current. Just step on the foot switch to complete the entire welding process. The machine has a high degree of automation and stable welding quality. Compared with the previous standard version, the welding stroke limit and upsetting air pressure conversion functions have been updated. The non-standard version is controlled by PLC programmer, and can be equipped with optional tempering device, ejector cylinder, and positioning cylinder auxiliary action. In addition to the above extended functions, the high-end version adopts modular design and linear guide rail guidance for higher precision and easier maintenance. Please read below for advantages and features
-
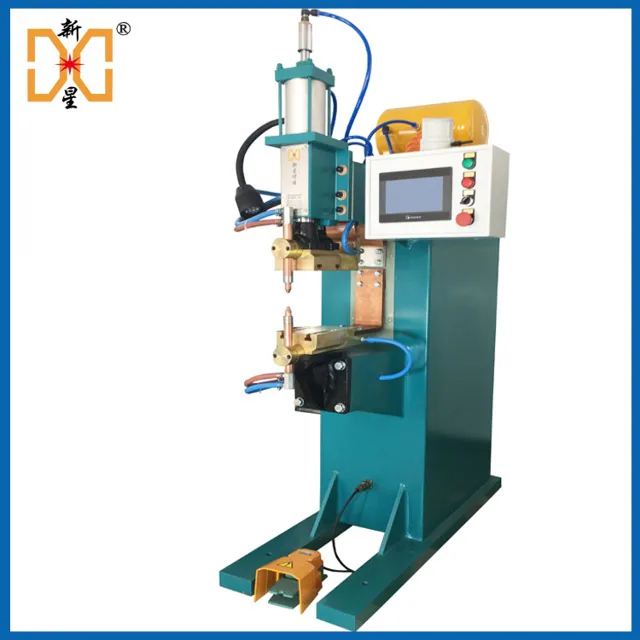
DBZ medium frequency resistance spot welding machine
Xinxing medium frequency inverter pneumatic resistance spot welding machine is a three-phase alternating current that is rectified into DC, and then through an inverter circuit composed of IGBT power devices, it is converted into an intermediate frequency 1000-4000HZ AC square wave output. After being stepped down by a transformer, it is rectified into DC and supplied to the electrode for welding the workpiece. Current feedback and pulse width modulation (PWM) are used to obtain stable current output. It is one of the cutting-edge resistance welding methods today. The medium-frequency resistance spot welding machine can be used for spot welding and multi-point projection welding of ordinary low carbon steel plates, stainless steel plates, galvanized sheets, aluminum plates and wires. It can also be used for spot welding and nut projection welding of high-strength steel and hot-formed steel in the automobile manufacturing industry, as well as resistance brazing and spot welding of copper wires in the high and low voltage electrical industry, brazing of silver points and copper plates, composite silver point welding, etc. Please read below for advantages and features
-
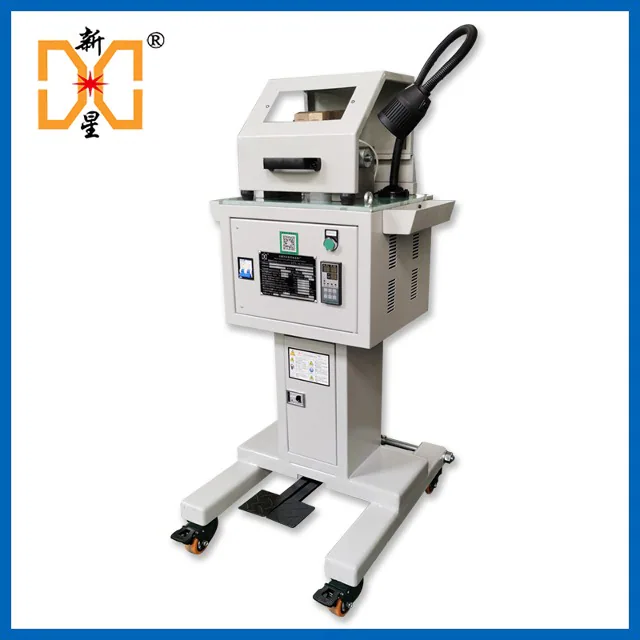
Semi-automatic CNC UN2S copper rod resistance butt welding machine butt welding machine
1. This series of products ranks top 2 in the national market share 2. Originated in 1993 3. Xinxing’s 28-year history 4. Always adhere to all-copper welding machines 5. 10-year long design life 6. 20+ years service life 7. Serve 5000+ customers 8. CQC certified products 9. 90% repeat customers

-
160KVA copper stranded wire pneumatic butt welding machine
Model: UNG-160 Power: 160kva Butt: 50~300 square meters of copper stranded wire, aluminum stranded wire, copper rod, aluminum rod 160KVA copper stranded wire butt welding machine adopts pneumatic pressurization, photoelectric positioning, touch screen programming control, water cooling, low-voltage and high-current intelligent resistance welding machine, and welds copper multi-strand wires and aluminum multi-strand wires with sleeves Wire, stranded conductor, welded firmly in 2 seconds, smooth and without flash. Please read below for advantages and features
-
UNG precision multi-stranded copper wire butt welding machine
Model: UNG-5 Power: 5Kva Suitable for: rapid welding of multi-stranded conductors, copper strands, tinned copper strands, and aluminum strands in wire and cable factories. The UNG precision multi-stranded wire butt welding machine is a single-phase AC resistance butt welding machine. This welding machine is mainly used for welding multi-strand conductors in the wire and cable industry. It is used with casings and is welded and formed in one go. The joints are strong and beautiful, with no flash or burrs, and the wire diameter does not change. It can be directly threaded through the mold, so that the production can be changed without stopping the machine.

-
CNC type UNG multi-stranded wire butt welding machine butt welding machine
Model: UNG-5 Power: 5KVA CNC UNG multi-strand wire butt welding machine belongs to the single-phase AC resistance butt welding machine category. This welding machine can butt weld 0.75-10 square meters of copper multi-stranded wires, 4-16 square meters of aluminum multi-strand wires and various metal wires, such as steel wires, copper wires, aluminum wires, titanium alloy wires, etc. It is suitable for the welding of round rods and small wires in wire drawing, cable and metal wire processing industries. 1. Xinxing’s 30-year history 2. Always adhere to all-copper welding machines 3. 10-year long design life 4. 20+ years of service life 5. Serving 11,000+ customers 6. CE certified products 7. 90% are repeat customers
-
50KVA pneumatic multi-stranded wire butt welding machine
Model: UNG-50 Power: 50KVA Butt connection: 16-120 square copper stranded wire, 25-120 square aluminum stranded wire, tinned stranded wire φ4-12 copper rod φ4-16 aluminum rod Pneumatic multi-strand wire butt welding machine is one of the resistance welding machines (butt welding machines). A pneumatic butt welding machine developed by Xinxing Welding Equipment Factory in 2005. It adopts pneumatic clamping and pneumatic transverse upsetting, and is equipped with an internal and external full water cooling system and a special butt welding controller, which can accurately adjust parameters. At the same time, it can be used with casings to weld multi-core wire harnesses and single-core copper wires without burrs.
News·Information
Contact Xinxing
- After-sales phone number:400-001-0502
- Pre-sales phone number:133-9510-0070
- Email:cnhjsb@163.com
- Address:Next to Huaming Bridge, 161 kilometers away from National Highway 312, Luoshe Town, Huishan District, Wuxi City, Jiangsu Province

Wuxi Xinxing Welding Equipment FactoryAll rights reserved
 Su Public Network Security No. 32020602001105Su ICP No. 11039752
Service hotline 400-001-050213395100070 new manager
Email:cnhjsb@163.com
Factory address: Huishan District, Wuxi City, Jiangsu ProvinceHuamingqiao Industrial Zone, 161 kilometers away from National Highway 312, Luoshe Town, Huishan District, Wuxi City, Jiangsu Province
Follow the public account
Official WeChat

QR code


Operation method of UN6 water-cooled pneumatic butt welding machine
Summary of information:
The UN6 water-cooled pneumatic butt welding machine is a complex resistance butt welding machine. It is designed and manufactured by Xinxing Welding based on the experience of the previous 5 generations of machines. It has many uses and the operation is also complicated. There are many adjustments to the air pressure, water flow, welding parameters, etc. The specific operations are as follows: 1.
The UN6 water-cooled pneumatic butt welding machine is a complex resistance butt welding machine. It is designed and manufactured by Xinxing Welding based on the experience of the previous five generations of machines. It has many uses and the operation is also complicated. There are many adjustments to the air pressure, water flow, welding parameters, etc. The specific operations are as follows:
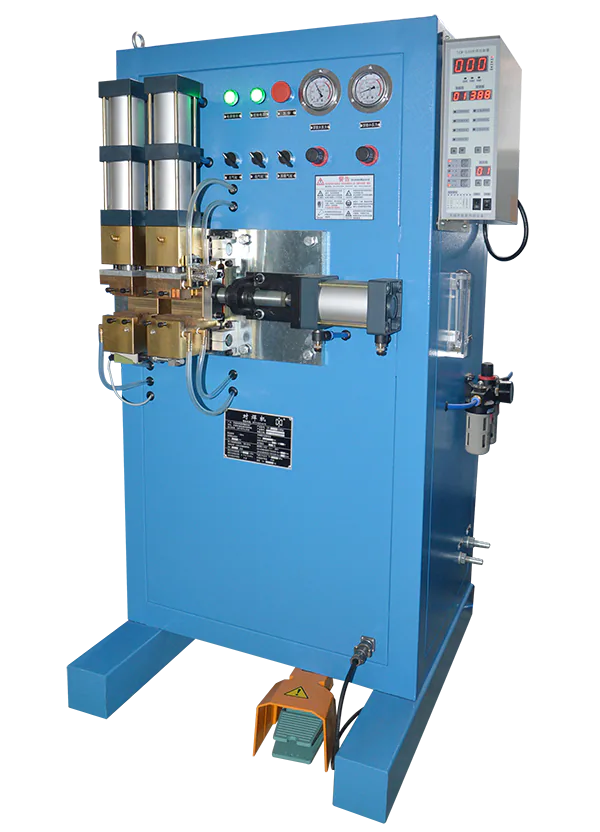
2. Open the air valve and observe whether the air pressure gauge on the triple part of the air source device at the air inlet indicates normal.
3. Pull up the air pressure regulating valve on the operation panel to adjust the air pressure so that the clamping cylinder and the upsetting cylinder generate the required clamping force and upsetting force. There is a red button on the solenoid valve of the pneumatic circuit. Press the button to adjust the mechanical components without power. Press the small red button and turn it 90 degrees clockwise to lock the cylinder. The upsetting force is an important welding parameter and should be debugged repeatedly during the first test.
4. If the movement is too strong when adjusting the cylinder, you can adjust the throttle valve at the air intake of the cylinder to control the air intake speed.
5. Install the welding mold, tighten the fixing bolts to push the mold tightly, adjust the pressing mechanism and mold position according to the welding requirements, and rotate the limit nut in front of the transverse top cylinder to adjust the transverse upsetting distance.
6. Turn on the control power switch, the power indicator light should be on. When adjusting, you can put the automatic knob in the manual position, and press the button below to manually control the movements of the left and right cylinders and the upsetting cylinder.
7. This machine can be equipped with a travel switch, which will stop welding when the welding time is up or the travel switch moves.
8. Limit switch: After the top pass, the welding current is turned off. Turning on the atmospheric pressure for upsetting can effectively improve the docking quality.
2. Controller operation
1. Turn on the power switch in the lower right corner of the controller panel.
2. The pressure button on the left side of the power button can control the downward pressure of the left and right cylinders to facilitate electrode installation and adjustment.
3. Press the "Work/Setting" button on the lower left side of the controller to make the indicator light on the setting side light up, indicating that the controller is in the "Setting" state and parameters can be changed. After pressing it once, it will be in working state for welding.
4. When setting the status, press the up and down direction keys below the parameter number. The value displayed in the upper window represents the corresponding serial number in the parameter. Then set the parameter value in the right window respectively. Press the "+" key to increase the value, and press the "-" key to decrease the value.
5. The numbers displayed when setting the parameters on the controller panel (except parameter 3 welding current) all represent time. "1" means 0.02 seconds, which is the time of one sine wave of the power supply. The number displayed when setting parameter "3 welding current" represents the thousandth of the maximum welding current value of the welding machine. When the parameter "7 rest time" is set to 0, it is a single welding. Press the foot switch to weld. When there is a set value, it is continuous welding. Step on the foot switch to start welding. After welding is completed, it will stop and automatically weld again. When the foot switch is stepped on again, it will stop. It is usually set to 0 for single welding.
6. Follow the above method to set the time of each program from left to right. After setting, click "Work/Setting" to confirm.
7. During single welding, set the 7 rest time to 0.
8. "Specification number" means that the controller can set multiple sets of parameters. The parameters used above are all stored in the currently displayed specification number. For example, if there are 5 different welding parts that need to be welded, each parameter can be stored in specifications No. 1-5. When you want to weld these 5 types of welding parts in the future, you only need to press the selection button under the specification number to switch to the corresponding specification. There is no need to re-enter each parameter.
9. Place the "Adjustment/Welding" key in the "Adjustment" position. The "Adjustment/Welding" key indicates that the gas valve can operate but will not generate welding current during adjustment. The "Adjustment/Welding" key must also be placed in the "Welding" position during formal welding. (The indicator light above welding is on)
10. Put the "Work/Setting" button on the controller panel into the working state, hold the left and right weldments with both hands and place them in the electrode slot, step on the foot switch with your foot, the two clamping cylinders should press down at the same time to compress the weldment, and the upsetting cylinder will push to the left, so that the end faces of the two weldments bear the upsetting force. But no welding current is generated. After the controller completes a welding program, the two clamping cylinders can automatically lift and the upsetting cylinder can automatically reset.
11. After completing the above operations, you can put the "Adjustment/Welding" key on the panel into the "Welding" state. When the foot switch is depressed, in addition to completing the above actions, welding current will be generated to weld the workpiece firmly.
12. Appropriate welding time, appropriate welding current and upsetting force are the keys to ensuring welding quality. These three parameters must be adjusted repeatedly.
13. When the temperature rise of the transformer exceeds the rated value, the temperature relay will operate and the over-temperature indicator light will light up. At the same time, the welding machine will be forced to stop welding and can only work again after the transformer cools down.
Wuxi Xinxing Welding Equipment Factory was established in 1993 and has focused on resistance welding machines for nearly 30 years. Its products include: butt welding machines, pneumatic butt welding machines, flash butt welding machines, hydraulic butt welding machines, copper and aluminum pipe butt welding machines, automatic butt welding machines, spot welding machines, pneumatic spot welding machines, medium frequency spot welding machines, energy storage spot welding machines, precision spot welding machines, automatic spot welding machines, There are more than 300 types of projection welding machines, variable frequency projection welding machines, medium frequency projection welding machines, row welding machines, fully automatic welding production lines, seam welding machines, medium frequency seam welding machines, resistance brazing machines and supporting printing machines, spark testing machines, high voltage testing machines, wire payoff machines, etc., with more than 5,000 long-term cooperative customers, and the quality is comparable to major imported brands. Welcome to learn more and buy!
Hot product recommendations