Key takeaways
- Begin with a drawing, material stack and quality requirement.
- Treat welding current, electrode force and weld time as a coordinated process.
- Check physical access and tooling before choosing a machine frame.
- Specify utilities and production handling early to avoid redesign.
1. Define the joint before the machine
The same nominal sheet thickness can require different equipment when coating, material strength, projection geometry or electrode access changes. A useful request for quotation describes the joint and the finished requirement.
- Base material, coating and material grade
- Number of layers and thickness of each layer
- Spot, projection, wire, mesh, nut or stud joint geometry
- Required weld appearance and permissible indentation
- Test method, target strength and sampling plan
2. Match current, time and force
Resistance welding creates heat at the electrical contact while the electrodes apply force. Insufficient current may produce an undersized weld; excessive heat can cause expulsion, marking or electrode pickup. Force affects contact resistance, containment and the mechanical stability of the joint.
Ask the supplier to explain the proposed process window and the basis for the selected transformer, controller and cylinder. For a new or sensitive application, request sample trials.
3. Check throat depth, electrode access and fixtures
A machine can have adequate electrical capacity and still be unsuitable because the part cannot reach the electrodes or be supported consistently. Mark the proposed weld locations on a drawing and show nearby flanges, bends and obstructions.
- Required throat depth and arm spacing
- Vertical or angled electrode approach
- Part support, locating and anti-rotation features
- Electrode change and maintenance clearance
- Manual loading ergonomics or automation interface
4. Choose the machine format around production
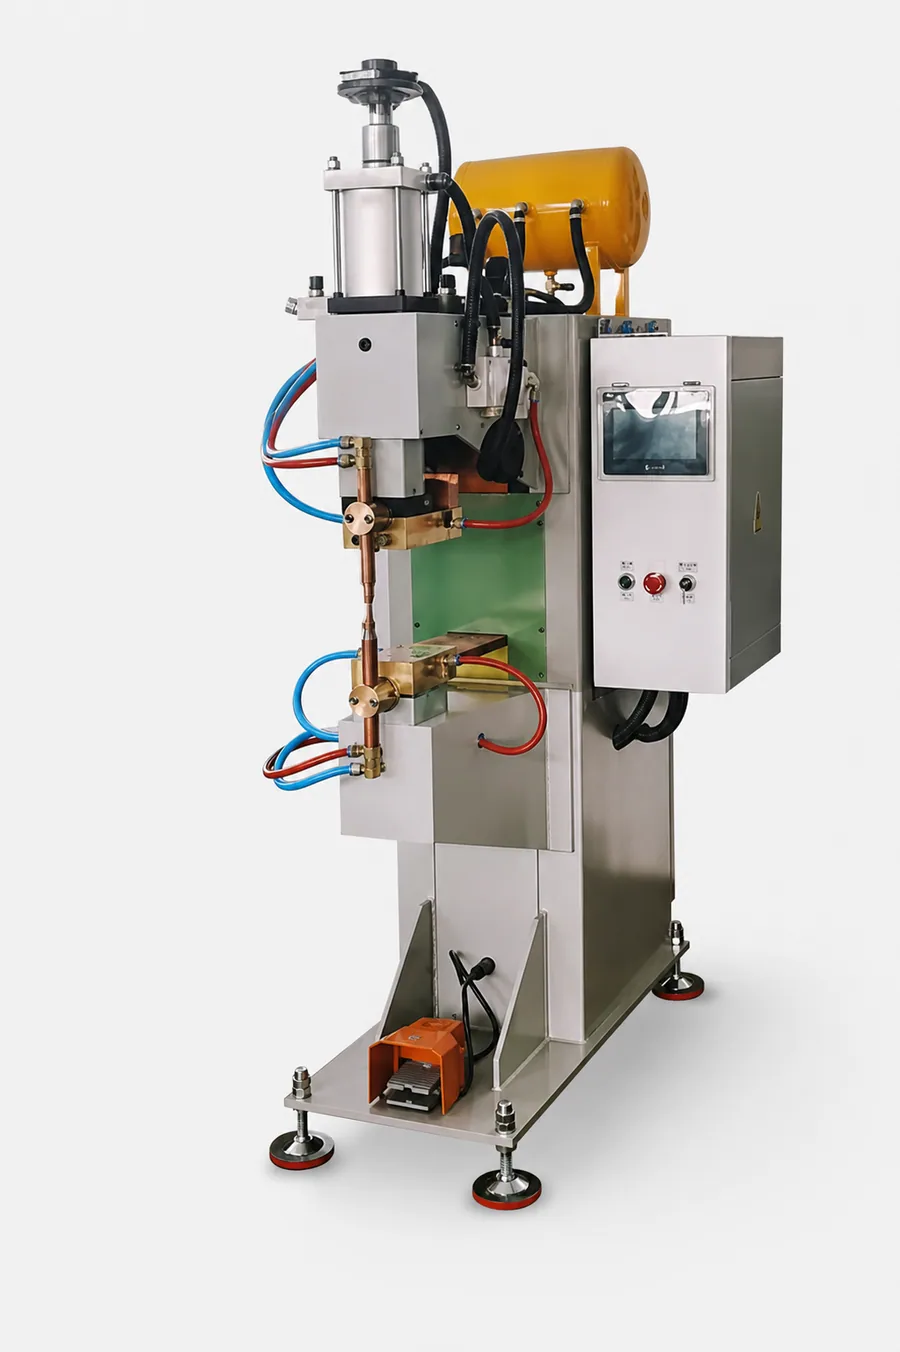
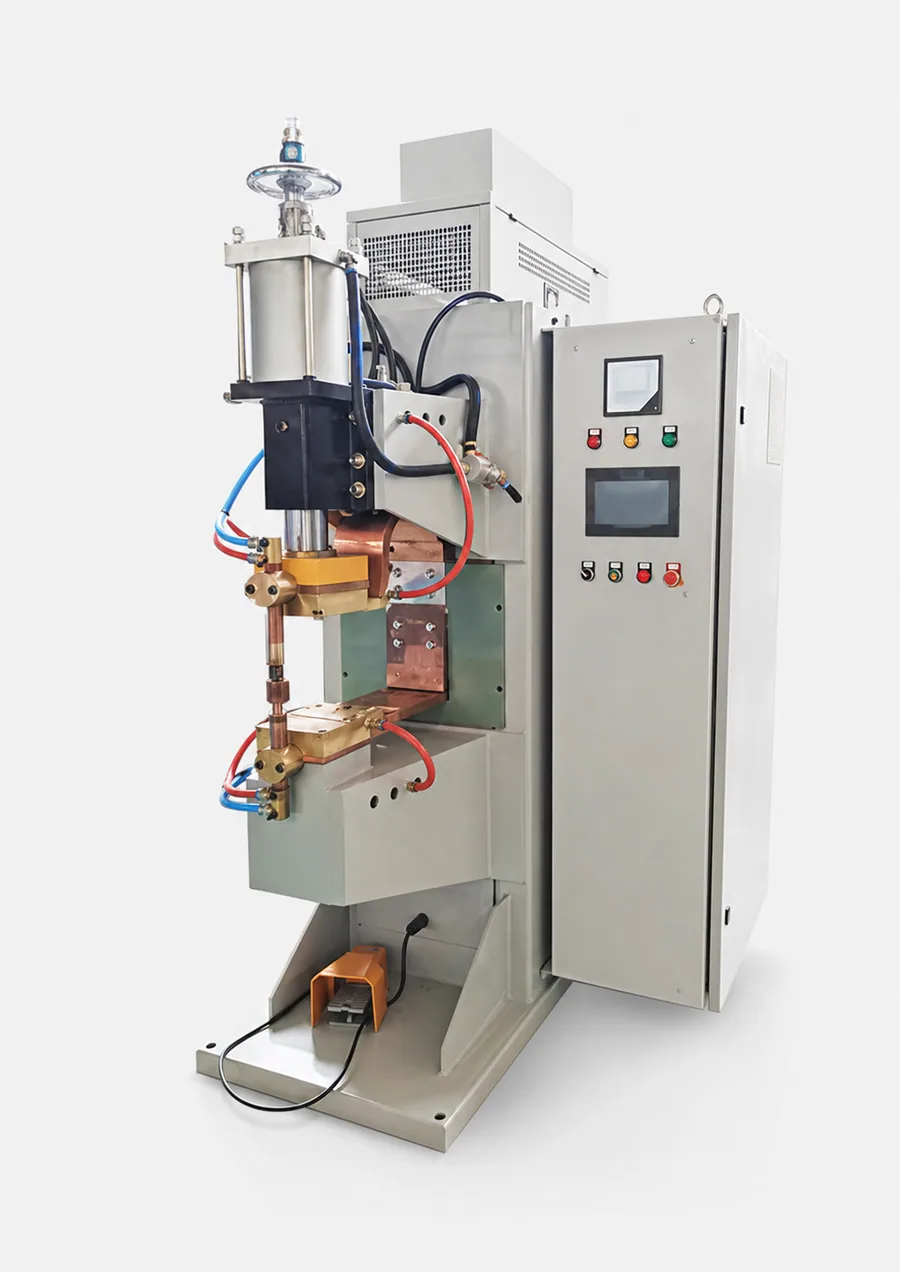
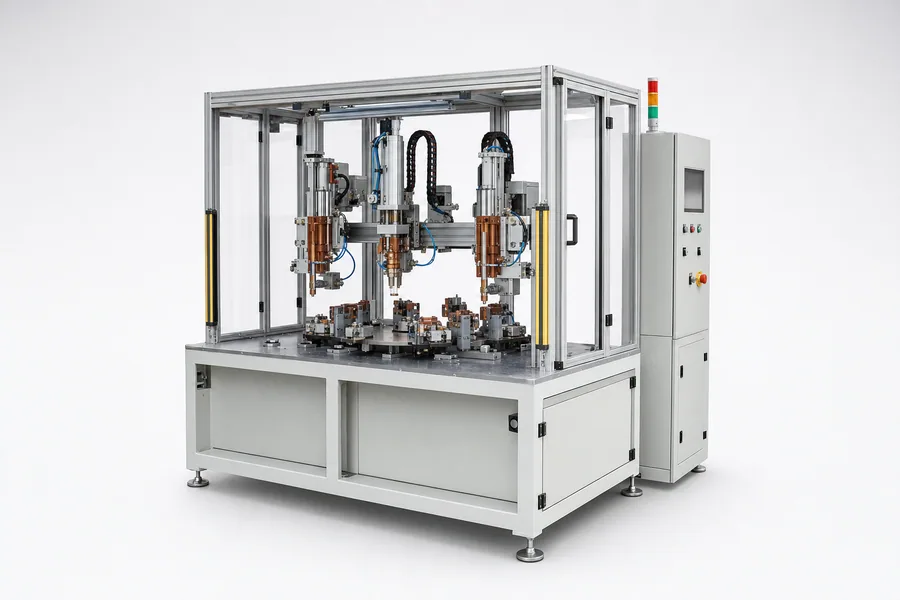
A bench machine may suit small components and moderate volumes. A pedestal unit provides a larger work envelope. A custom station can combine fixtures, multiple weld heads, motion, safety guarding and part handling when the cycle or joint pattern requires it.
| Production need | Common equipment direction | Review carefully |
|---|---|---|
| Small parts and frequent changeover | Bench or compact pedestal machine | Fixture repeatability and operator access |
| Large sheet assemblies | Pedestal or application-specific frame | Throat depth, arm deflection and part support |
| Multiple welds per part | Indexed fixture or automated station | Sequence, cooling, inspection and cycle time |
| High-mix production | Programmable controller with changeable tooling | Recipe control and mistake-proofing |
5. Prepare an RFQ package
Include enough production context for the supplier to identify assumptions. If a value is not yet known, label it as open rather than replacing it with a guess.
- 2D drawing or 3D model and representative photos
- Material and thickness specification
- Weld locations, weld count and target cycle
- Loading method and available floor space
- Factory voltage, air pressure and cooling-water details
- Inspection, documentation, training and handover scope